Asked by one of our readers on how to get a realistic panel on ubuntu 14.04, we went on a quest to find out how. Standard Ubuntu 14.04 Installation Until version 12.04, third-party tools allowed Ubuntu users to move the panel to the bottom of the screen. Nonetheless, in release 14.04 Canonical removed support for this function. Plus, Mark Shuttleworth said that the Launcher won't be movable in next releases either. So, considering we want to provide users with a realistic Windows-looking environment with our Windows 10 theme, we searched for alternatives. Here's what we found :
To install the Xfce Panel on Ubuntu, open a Terminal and type sudo apt-get install xfce4-panel Enter your password and you have successfully installed the package! Now we'll get rid (almost) of the left-aligned Unity launcher. Ennable the "auto-hide launcher" option in Settings > Appearance > Behavior, and set sensibility to low for the Unity launcher to disappear for good. To have the Xfce panel launch at startup, open the dash and search for Startup Applications. Once there, create a new launcher and in the command field, enter xfce4-panel. Save the launcher and log out. When you log back in, a dialog will pop up asking wich configuration you want to use. 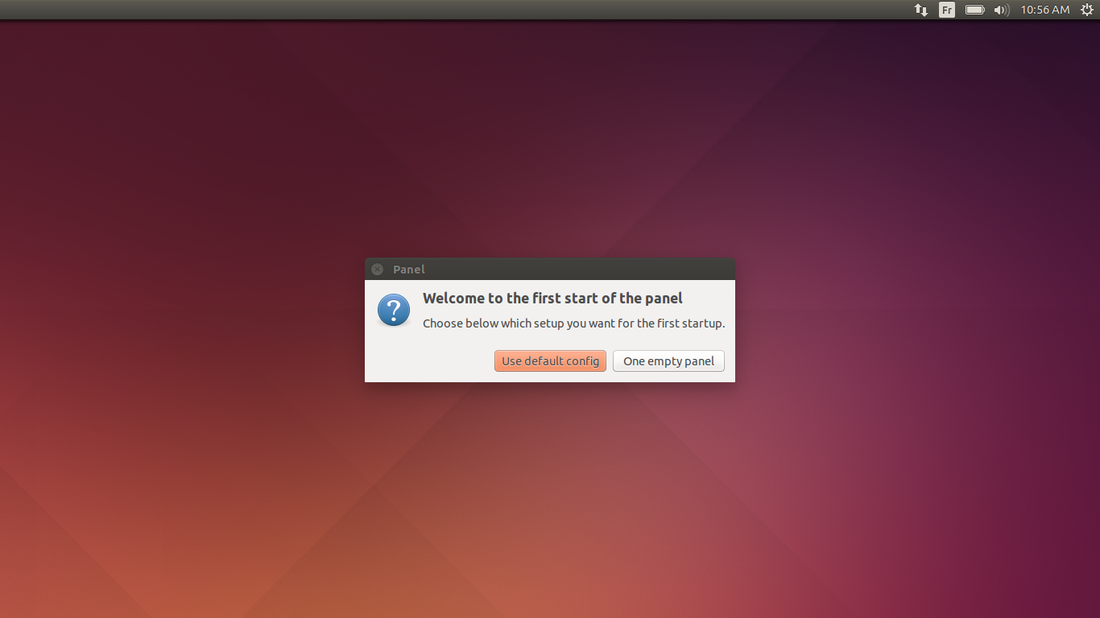 Usually, the default config is pretty similar to what we want, plus we'll save ourselves a lot of work! There's no problem with starting from scratch, but it's going to take some time. After making our choice, the desktop will look like this : 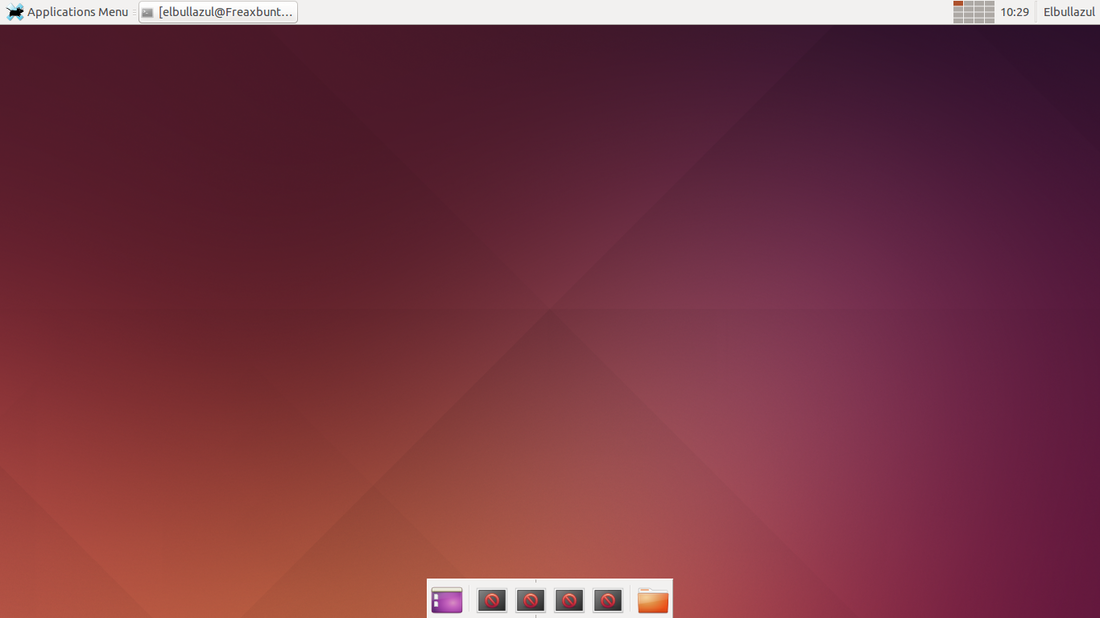 Of course, you'll have to customize the environment to get one that fits your tastes, but, hey, at least we're not stuck in having this vertical Launcher, right? However, we want the desktop to look like Windows, so we'll continue with the tweaks. Right-click somewhere on the panel and select Panel > Panel Preferences. A configuration window will appear. Usually, if we chose the default configuration we'll get a dock similar to Docky at the bottom of the screen. We want to get rid of it, so in the drop-down menu, select 'Panel 2' and then press on the remove button. 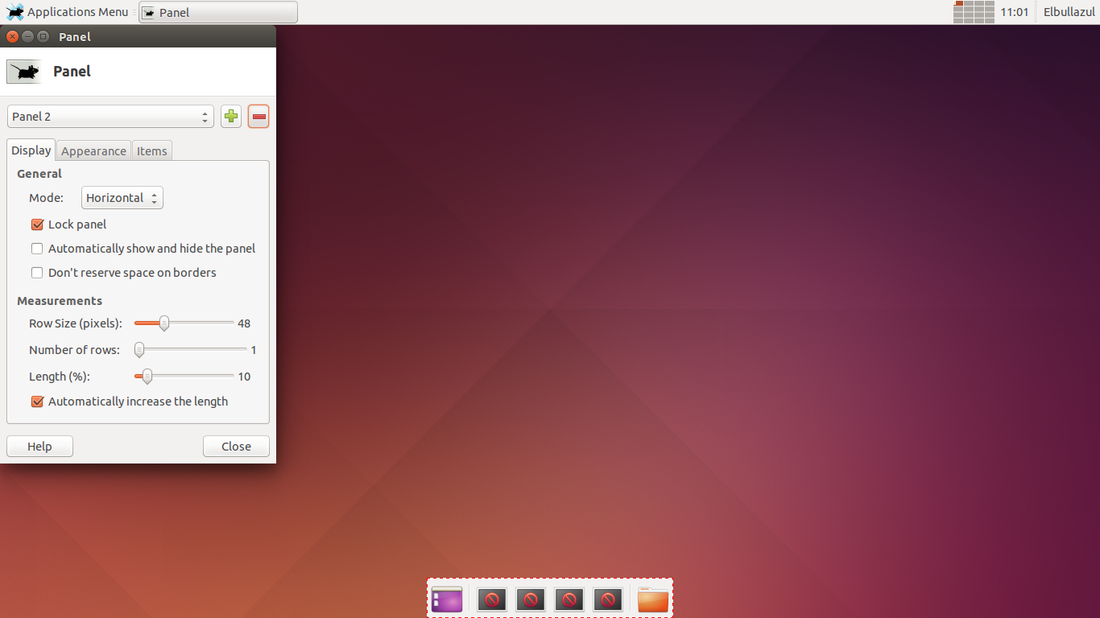 The button with the red bar is the remove button Oops! The config window just disabled itself! No problem, just select 'Panel 1' in the drop down menu to edit the panel left. We'll want it to align to the bottom of the screen, so we'll set uncheck the 'Lock Panel' option and then drag the panel to the bottom of the screen. 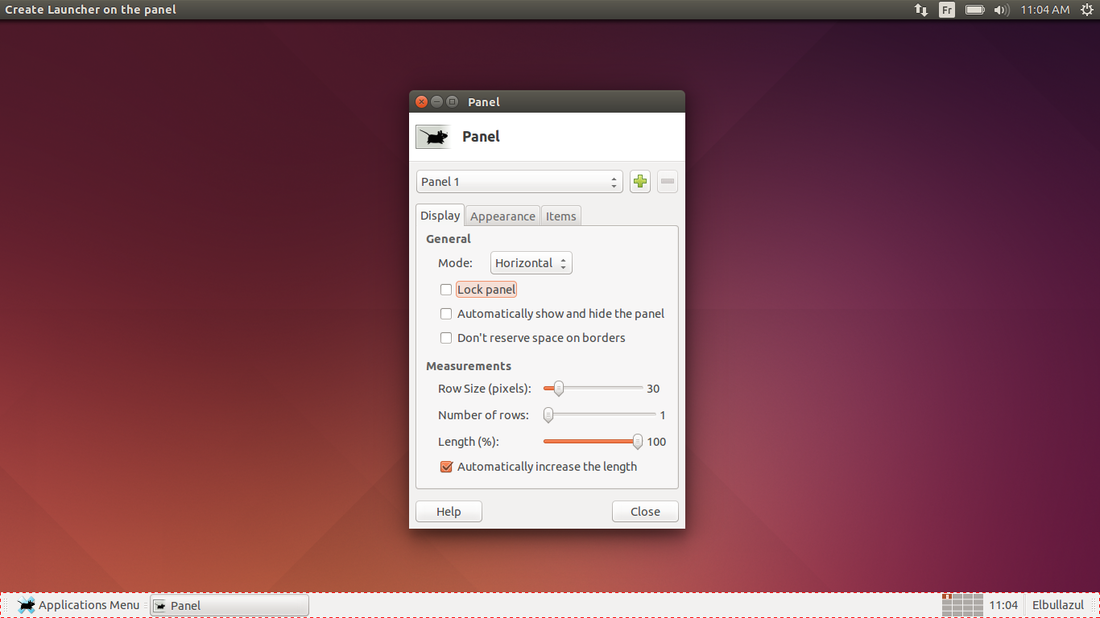 We'll check the 'Lock Panel' now, since we want it to stay at the bottom of the screen. We can also adjust the color and size of the panel, add applets and edit it's behavior (automatically hide panel) from the settings app. I've set it to look a bit like a Windows 10 taskbar : 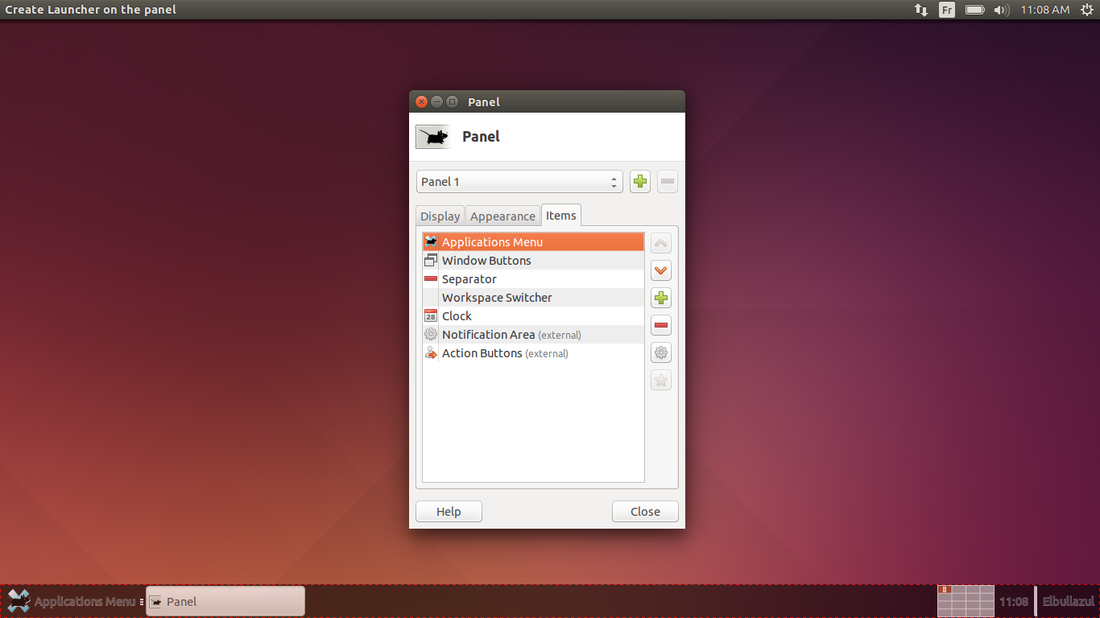 It's not perfect, but we have a semi-transparent black panel! Almost done! We'll now remove the text from the Window-list applet. Go to the Items tab and select the applet 'Window Buttons'. Next, press on the configure button to set its properties. A new dialog opens. Uncheck 'Show buttons labels' and we're done! Now we'll add a couple of launchers to the panel to access your preferred apps quickly. Back to the Settings Window, in the Items tab, we'll press the add button and choose 'Launcher'. A new launcher appears at the end of the panel. 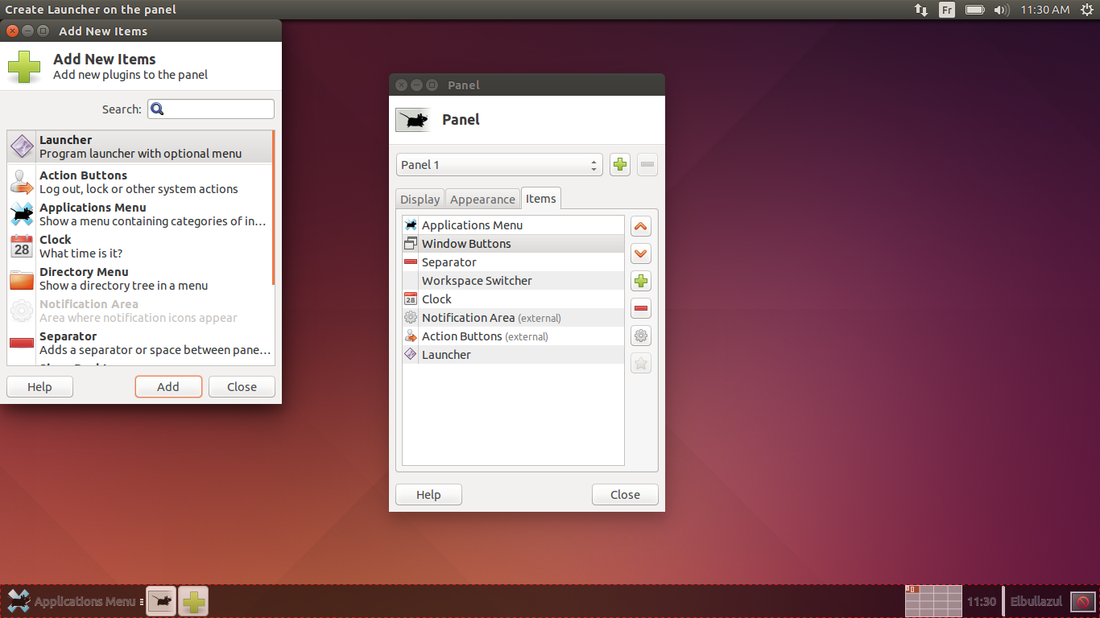 Right-click on the newly appeared icon on the panel and choose 'Properties'. In the new dialog that pops up, press the add button and choose the desired application. Save your choices and close all Xfce Settings Windows. You can add more launchers following the previous steps. Finally, after having created all the launchers you want, reorganize them so they appear right after the application menu. Do this by right-clicking on the panel, Panel > Panel Preferences and in the Items tab of the config window. You can then reorganize the items by selecting some applet and clicking the arrows to the right of the dialog. Finally, we're done editing our panel! Here is what it's supposed to look like : 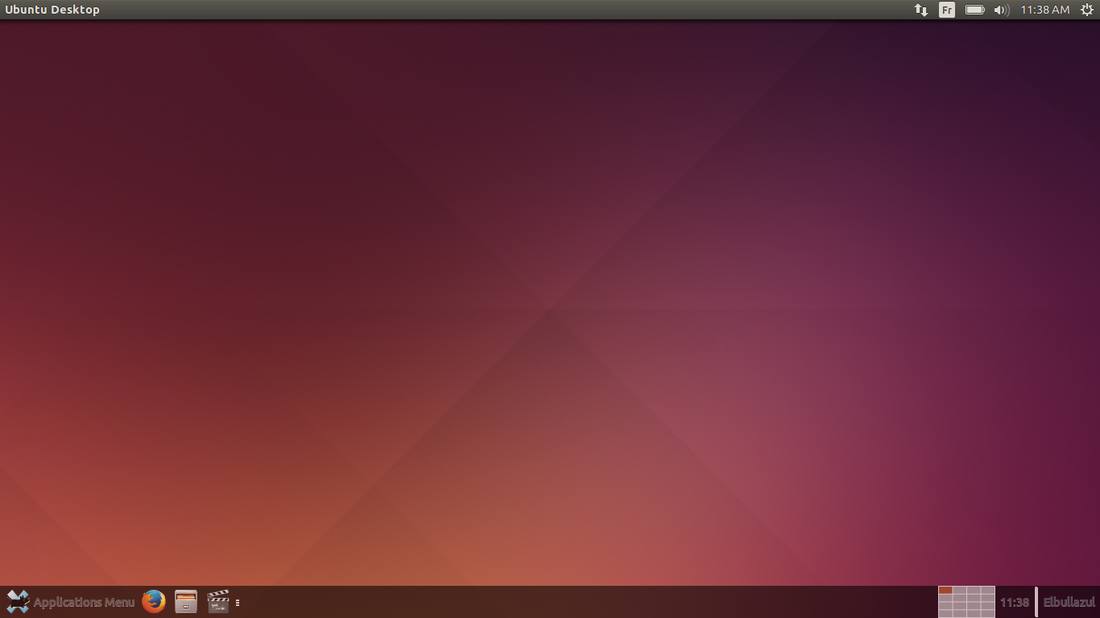 A Windows-looking panel running on Ubuntu's Unity Desktop... Of course, we found other alternatives searching for 'Ubuntu Panels'. Here are a couple of the results we found :
Comments or article suggestions? Contact us at our Contact page!
1 Comment
|
Author
Elbullazul Archive
February 2023
|
 RSS Feed
